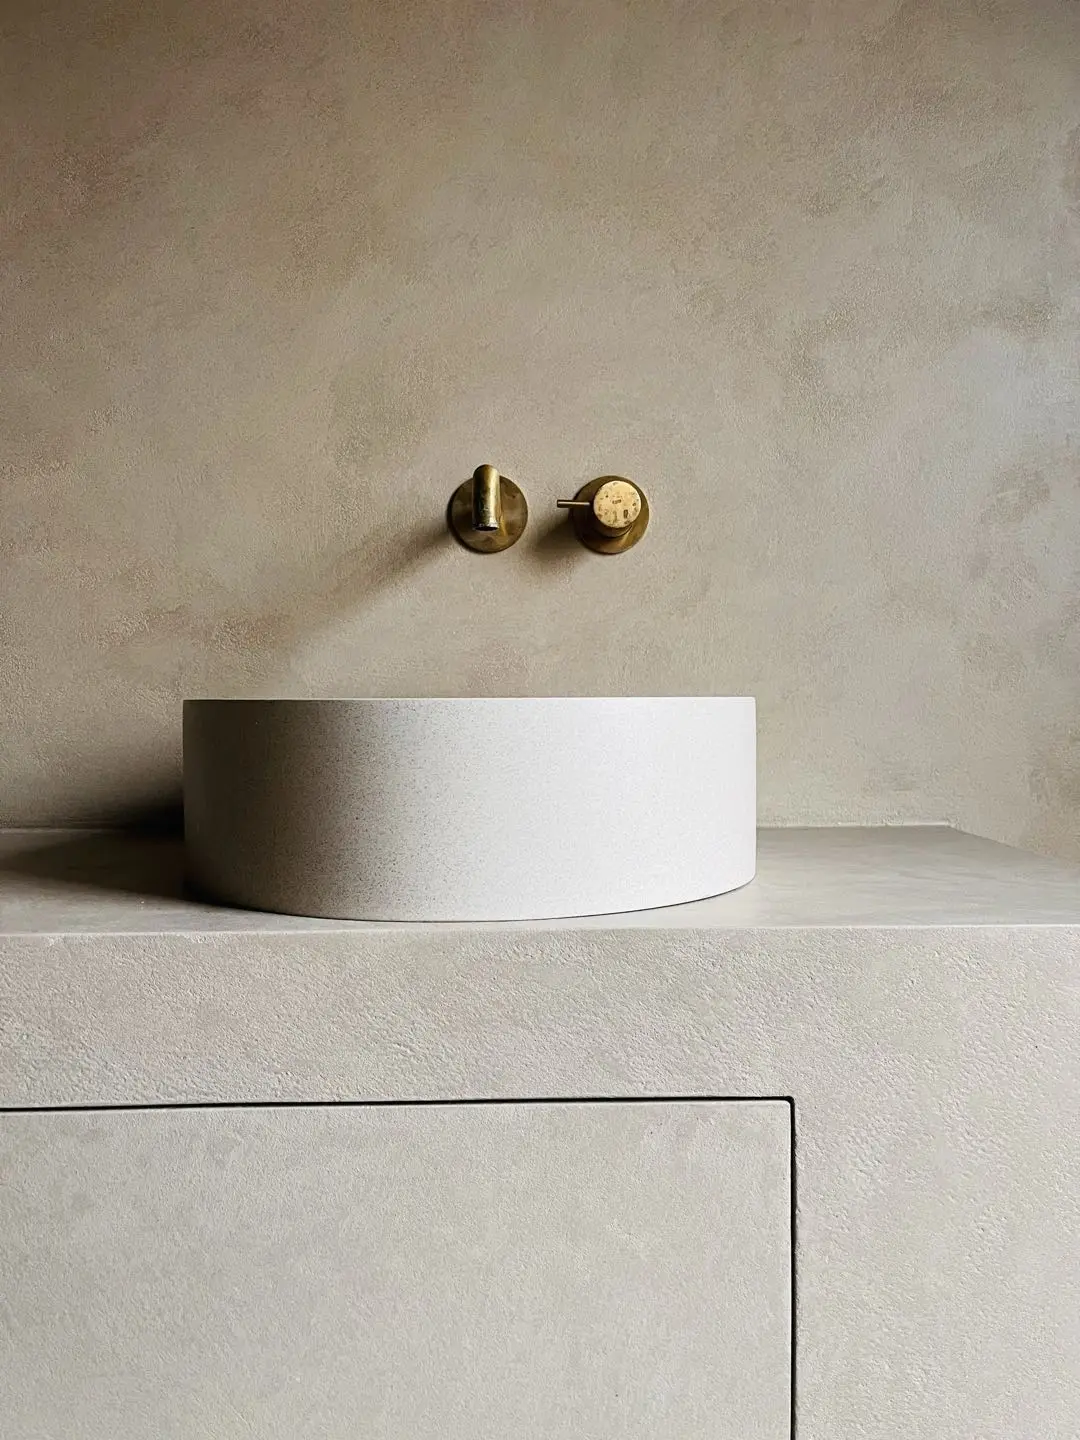
Microcement Bathroom
No tile grout lines. Every detail considered. A bathroom that feels continuous from floor to ceiling.
In short
What is a microcement bathroom?
A bathroom without the grid of tile grout lines
A bathroom without a grid of tile grout lines feels calm. Microcement can bring the floor, walls and shower niche together. Connections and sealant joints remain necessary: a seamless appearance does not remove the technical details.
We work with Forcrete, which is waterproof within the material. A good bathroom needs more than that. We assess the substrate, falls, drain and every connection before applying the finish. The sealer and maintenance belong to the selected system.
Colour and texture bring the room together. Place a sample beside the cabinetry, taps and sanitaryware in the bathroom's own light. You are choosing a finish for the whole space, not just a shade.
Coated Surfaces is a certified Forcrete installer, based in Schiedam and working throughout the Netherlands. Pom applies every layer by hand himself. No subcontractors, no rushed work.
Renovating as an expat? We can handle the site visit, quotation, planning and handover in English. For a rental, agree the work with your landlord in writing. For an apartment, check the relevant VvE documents and approvals. We can provide the project specification for that discussion.
Official certified Forcrete installer. Trained to expertly apply 100% waterproof microcement systems. Seamless finishes for bathrooms, floors and walls.

Six reasons to finish your bathroom in microcement
Waterproof material, considered details
Forcrete is waterproof within the material. A watertight shower also depends on the substrate, drain, corners, penetrations and sealant joints. We assess the complete installation, not just the visible finish.
No tile grout lines
A continuous finish has no tile grout lines to clean. Connections and sealant joints still remain. Follow the care instructions, ventilate the room and inspect sealant joints regularly.
Over your existing tiles
Well-bonded tiles can provide a base. We also check flatness, moisture, falls and connections. Retaining a suitable base can save demolition and waste; we discuss any necessary repairs beforehand.
Build-up height matters
The finish is only one part of the complete build-up. Preparation and levelling can add height. We check doors, drain heights and the adjoining floor transition before work starts.
Grip suited to the space
Water and soap affect grip. Slip resistance depends on the selected texture, sealer and conditions of use. For a shower, we discuss the appropriate finish and the test evidence applicable to that installation.
Warm with underfloor heating
Microcement can be combined with an appropriately specified underfloor-heating system. The heat source, screed and commissioning and restart instructions determine what your floor needs.
How we build your bathroom
A bathroom needs a build-up specified for each surface. Forcrete has separate floor and wall systems, with a reinforced wall system for shower walls. A vanity needs its own specification too. The steps below explain their purpose, not one layer recipe for the whole room. Products, reinforcement and coats are matched to the substrate and use.
- 01
Assess the substrate and junctions
We assess the existing base and junctions. In the shower, falls, the drain, corners and penetrations work together. Agree who prepares and executes these details beforehand, including any contractor or plumber involved. - 02
Preparation
A suitable base must be sufficiently stable, clean and well bonded. With tiles, we assess what can remain and what needs repairing or removing. Cleaning, mechanical preparation and levelling follow that decision, not a standard treatment for every bathroom. - 03
A suitable primer
The primer is selected for the substrate and finishing system. Not every primer is a moisture barrier or levelling coat. Residual moisture, joints and height differences need their own assessment; primer does not replace that preparation. - 04
Reinforcement
Reinforcement is included where the specified system requires it. It helps distribute limited stress but does not repair an unstable structure. Existing cracks and movement joints still need attention before finishing begins. - 05
Base coats
Base coats belong to the microcement system, not the load-bearing building structure. The specified product and number of coats can differ between floors, shower walls and other surfaces. The selected build-up is agreed before installation. - 06
Finishing layers
The finish is applied by hand in the agreed colour and texture. A calm wall finish and a wet shower floor do not have the same demands. Appearance, underfoot grip and care are considered together. - 07
Sealer and first use
Sealer remains part of the complete finishing system even though the Forcrete material itself is waterproof. Handover includes use and care instructions. Finishing the application does not automatically mean it is ready for water exposure or the first shower.
Microcement over tiles in the bathroom
Existing tiles can stay if the substrate is suitable. We check adhesion, flatness and junctions, and discuss any repairs needed first. That assessment determines the preparation, primer and subsequent system build-up. The falls, drain and available build-up height also matter.
Keeping suitable tiles saves demolition and rubble. A bathroom typically takes five working days; preparation and details determine the schedule. Finishing the application does not mean the room is ready for its first shower. At handover, we confirm light use, water exposure and cleaning for the products applied. Have the release confirmed and observe any longer specified waiting period.
Microcement, tiles or resin floor in the bathroom?
Three finishes side by side, considering the complete bathroom. The epoxy and PU resin floors compared here are poured; microcement is trowelled by hand. The product and installation determine what suits your room.
| Microcement (Forcrete) | Tiles | Resin floor | |
|---|---|---|---|
| Joints and connections | No tile grout in the visible finish; connections and sealant remain | Tile grout, connections and sealant | No tile grout in the floor finish; perimeter details remain |
| Wet-room build-up | Forcrete material plus a suitable substrate, falls and connections | Waterproofing and details for the selected tile system | Only with a system specified for the wet room |
| Build-up height | Thin finish; total depends on preparation | Total depends on tiles, adhesive, waterproofing and preparation | Total depends on the product and preparation |
| Over existing tiles | Possible after assessing adhesion, flatness and details | Possible with a suitable renovation build-up | Depends on the product and substrate |
| Walls and shower | Possible with a complete wet-room specification | Possible with the correct waterproofing and details | Depends on the selected system |
| Maintenance | Follow care guidance; inspect sealer and sealant | Follow care guidance; inspect grout and sealant | Follow care guidance; inspect top coat and perimeter details |
| Look | Mineral, handmade, broad colour choice | Depends on the tile | Usually more uniform; depends on product and finish |
| Wear resistance | Depends on product, texture, sealer, use and maintenance | Depends on the tile, grout, use and maintenance | Depends on product, top coat, use and maintenance |
What does a microcement bathroom cost?
A microcement bathroom costs 180 euro per square metre excluding VAT with us, including material and the application of the complete system. The final price depends on three things: the condition of the substrate, the amount of detail work (niches, an integrated vanity, a shower channel) and the total surface area. Walls count as square metres, and a bathroom has relatively many of them.
For comparison, demolition, rubble removal and a new screed can be separate costs in a tiled renovation. If the existing tiles are suitable and can remain, microcement may avoid those items. After a visit, you receive a fixed-price quote that states the preparation needed.
Every rate, the preparation costs and two complete worked examples are on our pricing page.
Maintaining a microcement bathroom
Once the finish has been released for cleaning, follow its care instructions. Use a suitable pH-neutral cleaner at the specified dilution. Do not use aggressive descalers, abrasives or steam cleaners. How the finish ages depends on water exposure, cleaning, ventilation, use and maintenance.
A dull spot or scratch needs assessment first: is it dirt, the protective layer or damage to the surface? A maintenance treatment or new sealer coat must suit the existing finish and is not a standard remedy for every damaged area. Local repair may be possible; differences in colour, texture and sheen may remain visible. The damage and existing build-up determine whether local repair or refinishing a larger area is appropriate.
Cleaning and caring for microcementWhat it looks like: bathroom in Rotterdam-South
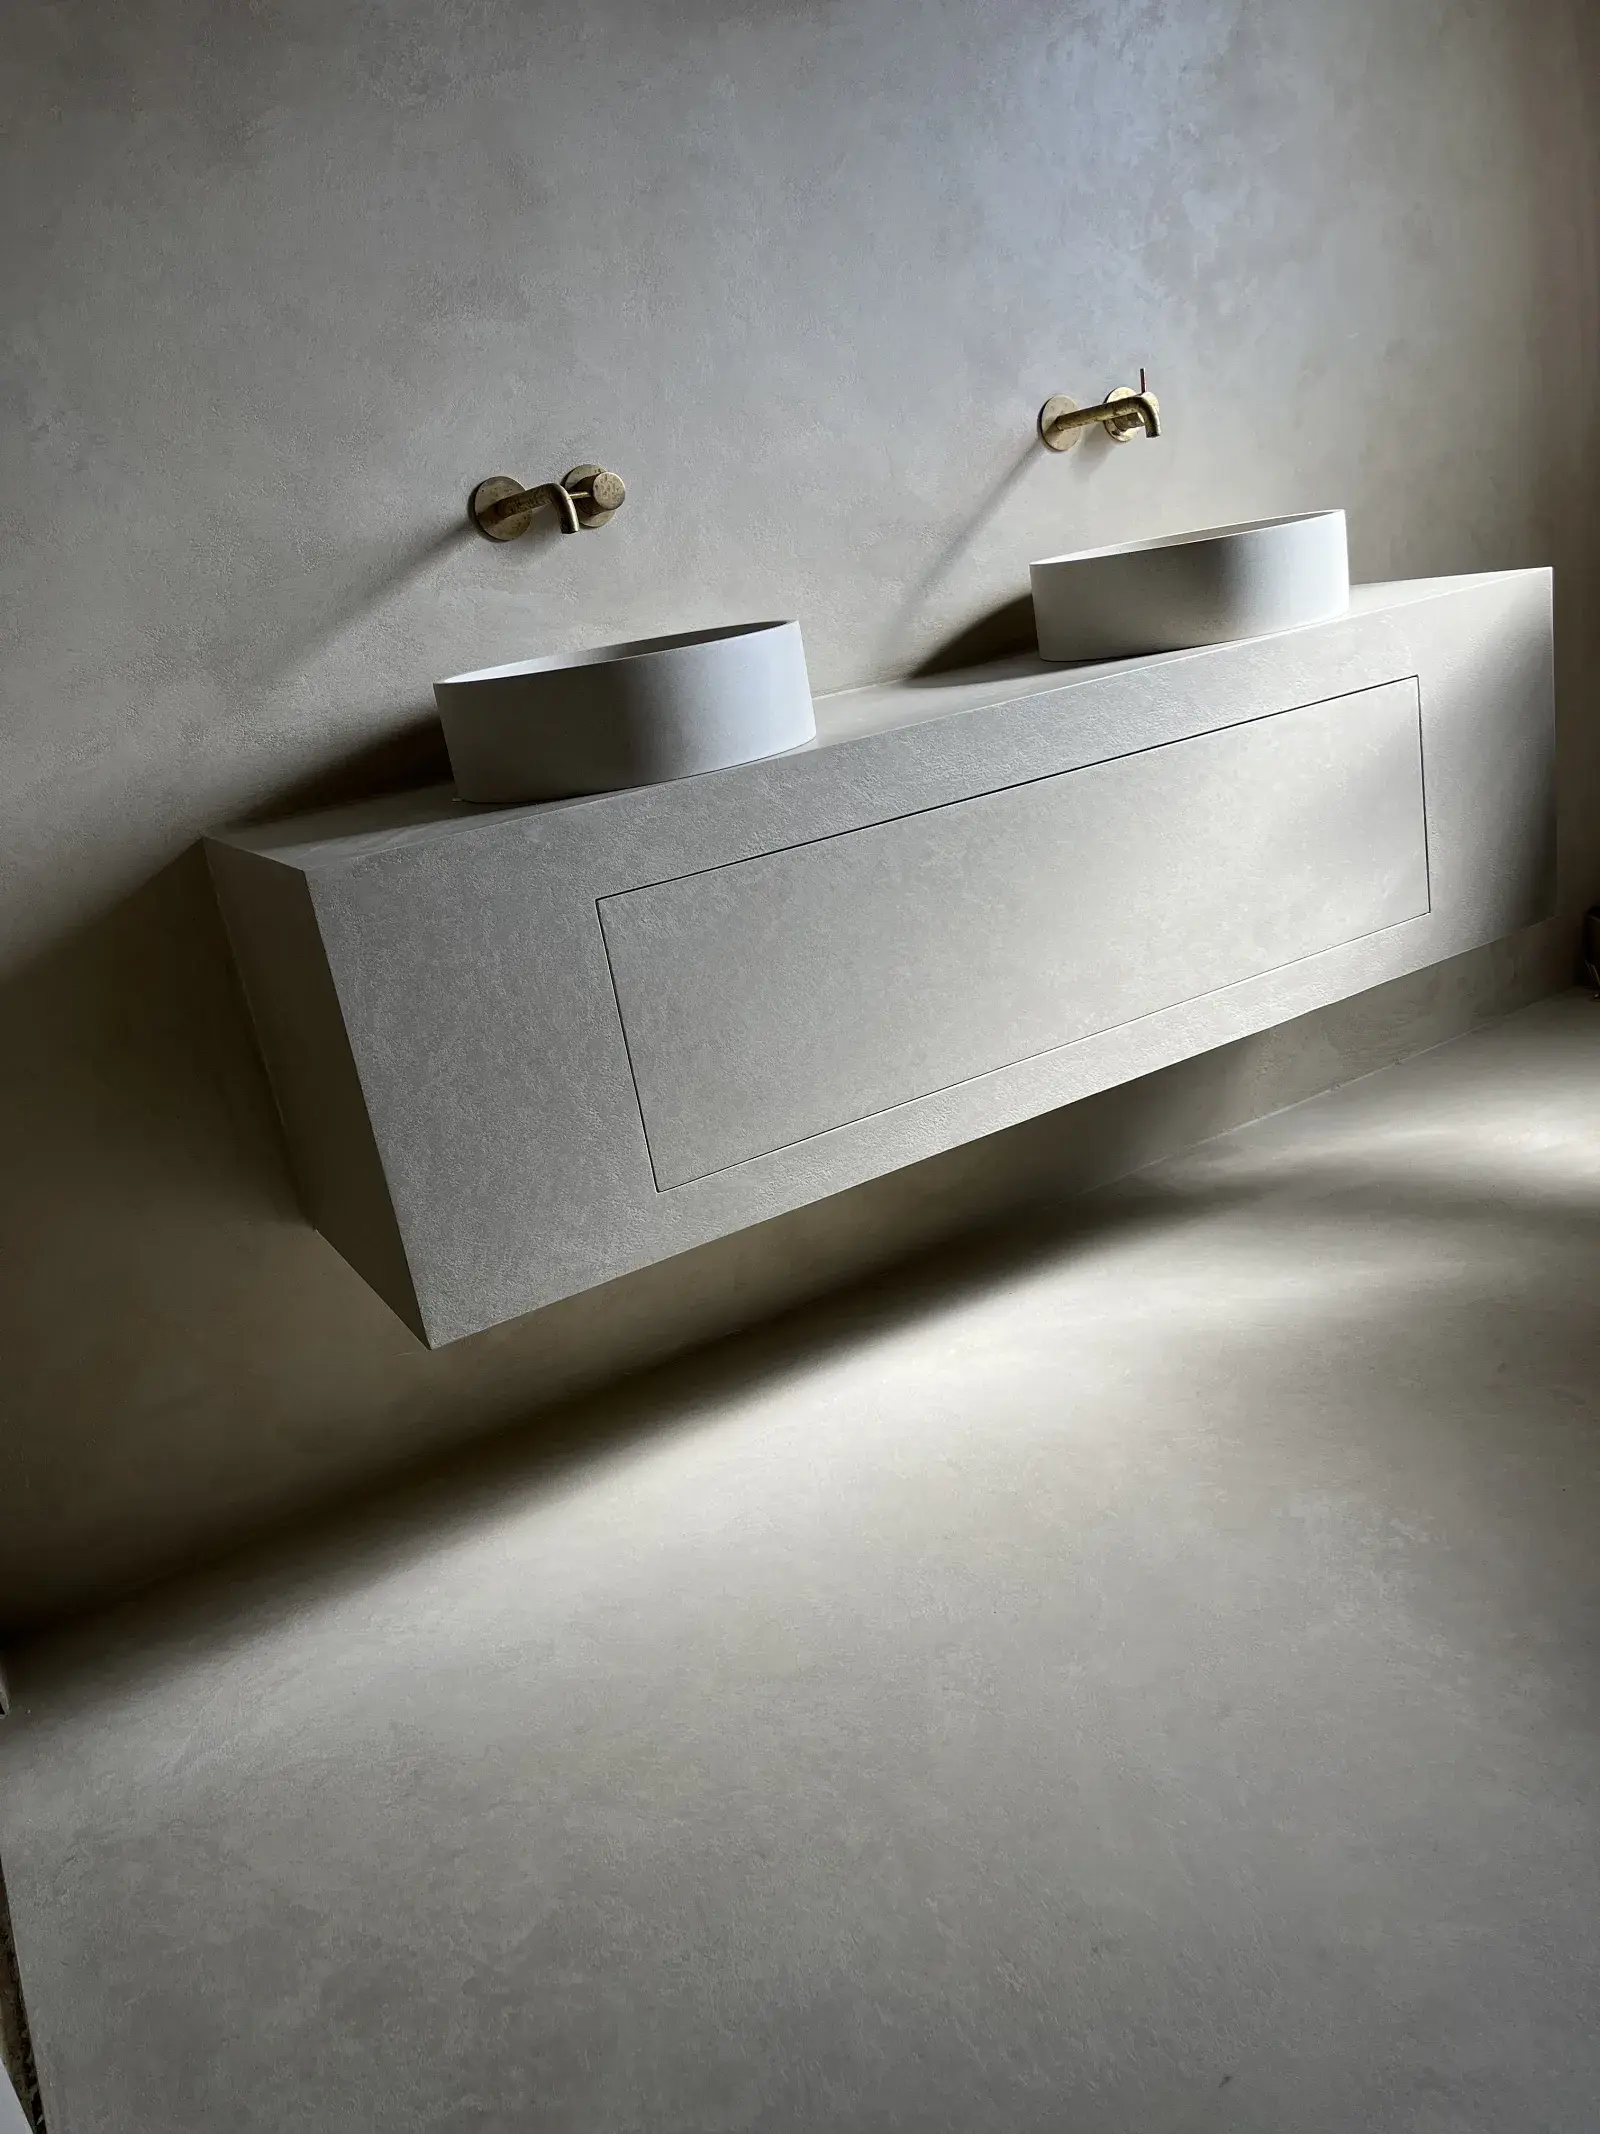
Bathroom Rotterdam
Seamless microcement bathroom with Quartz Coarse finish. 33 m² of floor, walls and walk-in shower as one surface, with a seamlessly integrated vanity.
The vanity is integrated into the wall and finished in the same colour and texture as the rest of the bathroom.
The entire bathroom finished in Forcrete Quartz Coarse microcement. Floor, walls, walk-in shower and vanity form 33 m² of seamless surface. Hand-shaped slope in the shower floor and fully waterproof buildup.
- Waterproof wet-room build-up
- Quartz Coarse texture
- Seamlessly integrated vanity
- Hand-formed shower fall
What clients say
Google review“We had our bathroom, measuring approximately 3 by 3 metres, completely renovated with microcement by Pom of Coated Surfaces, including a wall enclosing the shower. [...] In short: a craftsman and a pleasure to have in your home.”
Google review“It had been a wish for years. Pom made that wish come true. In a short conversation we shared our wishes and Pom thought along with us. The work was done very neatly, precisely and as agreed. His aftercare is also very good. We are very happy with the end result. Thank you, Pom.”
Google review“Top company, they think along with you and simply keep the agreements they make! As it should be. Pom delivered a piece of true craftsmanship in our bathroom.”
Follow OurWork
Frequently asked questions about microcement in the bathroom
Yes, Forcrete describes its microcement system as waterproof before the sealer is applied. That is a material property, not a guarantee that every finished shower is automatically watertight. The substrate, corners, penetrations and drain connection must be suitable and carefully detailed. The sealer remains part of the finish and protects against soiling and wear. We assess the complete build-up for use in a bathroom or shower.
In a microcement shower, drainage is addressed during the preparation phase. The subfloor slopes towards the drain so water can flow away. The drain must suit the chosen floor build-up. Corners, penetrations, sealant joints and the drain connection also require appropriate watertight detailing. The waterproof properties of the Forcrete material do not replace these details. Sealant joints need inspection and maintenance. We assess the substrate, gradient and connections before work starts.
Microcement can become slippery when wet. Slip resistance depends on the chosen texture, sealer, contamination and maintenance. A bathroom or shower finish must suit its intended use and wet conditions. Ask for the specification and available test evidence for that exact finish; a test value for another product or texture does not automatically apply to your floor. We discuss this before selecting the material. Proper drainage and suitable maintenance remain necessary.
Microcement can be applied over existing tiles when the substrate is suitable, stable and firmly bonded. We first check adhesion, cracks, joints, flatness and moisture. Cleaning, mechanical preparation, primer and the subsequent build-up are selected accordingly. A floor and a shower wall do not automatically receive the same system. Repairs or additional levelling may still be needed; unsuitable areas need addressing first. Keeping suitable tiles can reduce demolition work. Learn more: Read when microcement over tiles is possible.
Our terms distinguish three stages after completion: at least 48 hours before light use, 7 days before water exposure and 28 days before full use. No standing water is allowed on the floor during the first 4 weeks. This is not automatic clearance to shower after a week: the waiting period also depends on the sealer used and site conditions. Follow the product-specific maintenance protocol provided at handover. Ask us to confirm the waiting period for your finish before water exposure; a longer product-specific waiting period takes precedence. Learn more: Read the warranty and usage terms.
A standard floor project takes an average of five to seven working days, depending on the surface area and complexity. This includes substrate preparation, primer, reinforcement mesh, scratch coat, multiple layers of microcement and the final sealer. Each operation follows the specified drying and recoating times. A bathroom typically takes five working days. It is smaller, but takes more time per square metre because of waterproofing and detailing around drains, niches and connections. Curing after completion is additional. Our terms specify at least 48 hours before light use, 7 days before water exposure and 28 days before full use. No standing water is allowed on the floor during the first 4 weeks. These periods do not replace the product-specific maintenance protocol. Ask us to confirm the waiting period for your finish before water exposure; a longer product-specific waiting period takes precedence.
The thickness of the microcement finish is not the same as the complete floor build-up. Preparation, repairs, levelling and the selected base system can add height. Agree the complete build-up for your substrate and check doors, skirting and adjoining floors. Our interactive floor guide explains the components; the illustrated thicknesses are schematic. Learn more: View the interactive floor build-up.
Yes. Floors carry a three-year warranty including liquid-tightness, starting at full completion. The conditions are that you follow the maintenance protocol you receive at handover, and that sanitary skirting and sealant are fitted in wet rooms. Outside the warranty fall cracking caused by structural movement or subsidence of the building, wear from normal use, moisture problems in a substrate we did not lay, and damage from acids, abrasives, dyes or steam cleaners. The full text is in our terms and conditions. Learn more: Read the warranty and usage terms.
The room has to be empty, clean, safe and free of draughts, with adequate lighting. Empty means genuinely empty: furniture out, and in a bathroom the sanitary ware disconnected or removed as far as needed. We discuss that beforehand so you know what you arrange and what we do. Any change to colour or planning should reach us at least three weeks before the start date. Beyond that we provide the dust screens and protect the rest of the home. Learn more: Discuss your project.
Remove sand and dirt regularly and, after the permitted curing period, use a suitable pH-neutral cleaner according to the care instructions. Avoid abrasives, acids and steam cleaners. Protect the floor with appropriate furniture pads and inspect sealant joints in wet rooms. Signs of use depend on the finish, loading and care; a floor does not automatically stay identical for years. Dirt in the texture may eventually require professional cleaning. Confirm a method suitable for your finish first. Learn more: Read how to clean and care for microcement, Read our real-world experience of daily use.
Yes, in some cases. We first assess whether the issue is soiling, wear of the protection or damage to the microcement or substrate. That determines whether suitable cleaning, maintenance of the protective layer, local repair or refinishing a larger area is appropriate. Maintenance wax or a new sealer coat is not a standard remedy for every scratch or dull spot. First have the treatment confirmed as suitable for your existing finish. Local repair may be possible. Differences in colour, texture and sheen may remain visible; we do not promise an invisible repair. Whether local repair or refinishing a larger area is appropriate depends on the damage and existing build-up. Cracks or loose material also require assessment of the cause. Refinishing over existing microcement is only possible if the existing build-up is suitable. Send overview and detail photos and tell us which products have already been used, so we can discuss the next step. Learn more: Discuss your project.
Blog
Microcement in a Dutch rental or apartment: what expats need to know
Renovating a bathroom in the Netherlands as an expat? Plan landlord consent, VvE requirements, substrate preparation and the complete build-up before work starts.
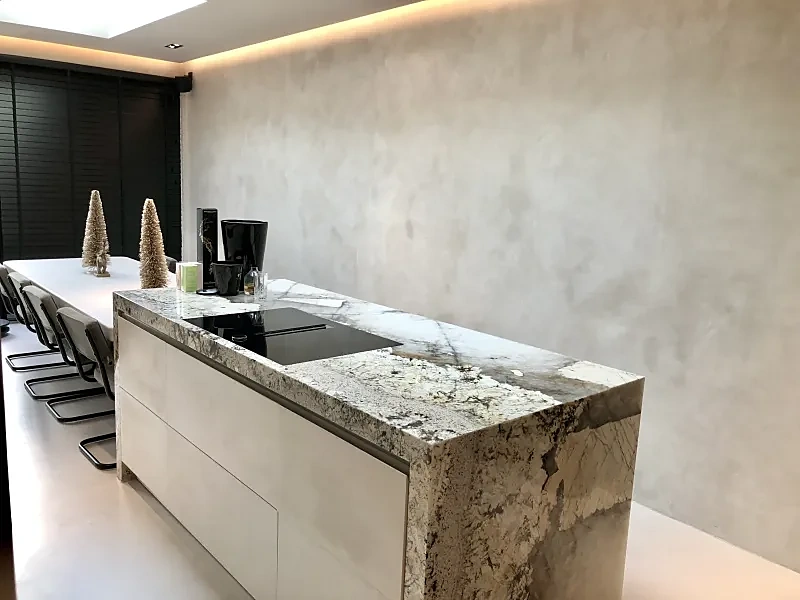
Why we chose Forcrete as our microcement system
Every microcement system promises a lot. We chose the one that strengthens our craftsmanship. This is why we work exclusively with Forcrete.
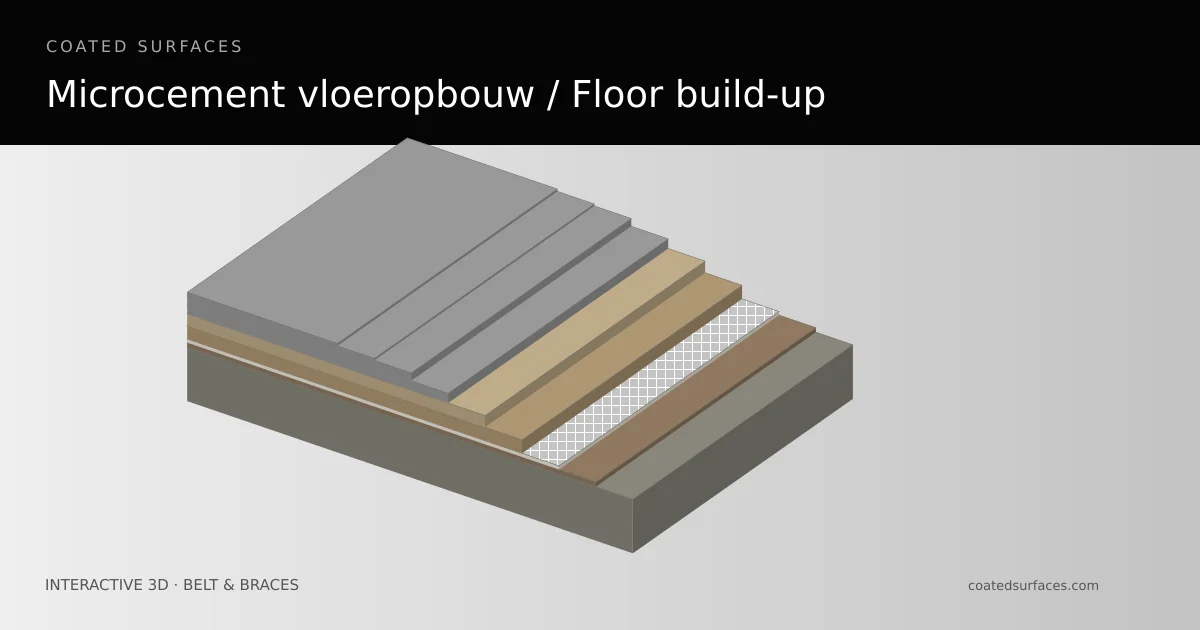
Microcement floor build-up in 3D
Explore every layer, your substrate and the considerations for preparation, floor height and underfloor heating.
Microcement bathroom in your region
Your bathroom without grout?
Send us a few photos and the dimensions of your bathroom. We discuss the options, plan a visit and you receive a fixed-price quote.